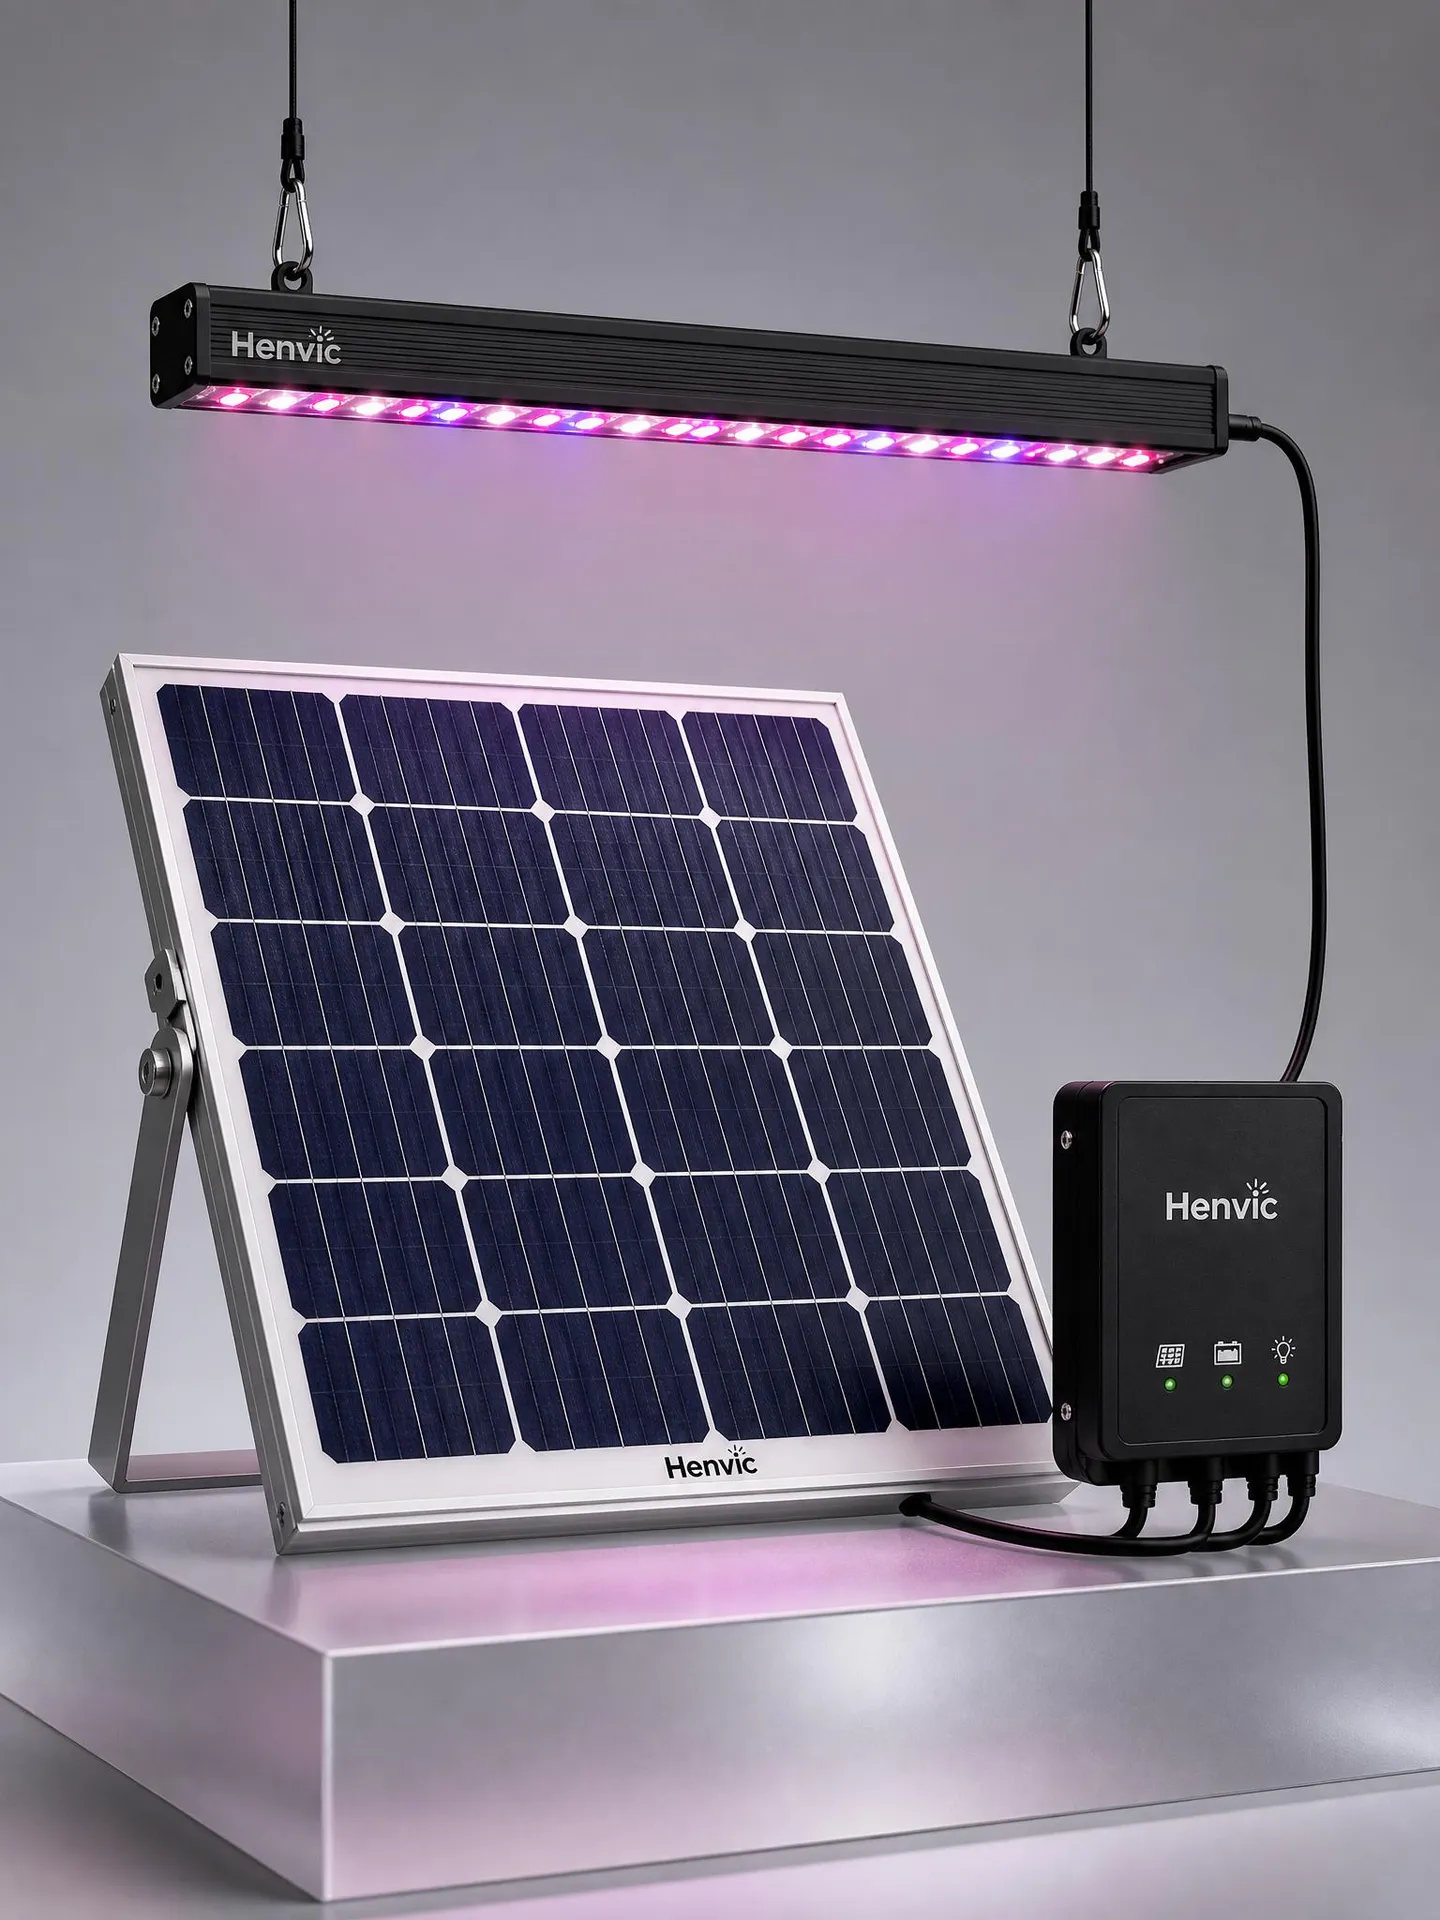
Henvic 果物と野菜培養用コンテナ太陽光補助ライト
I. Product Overview
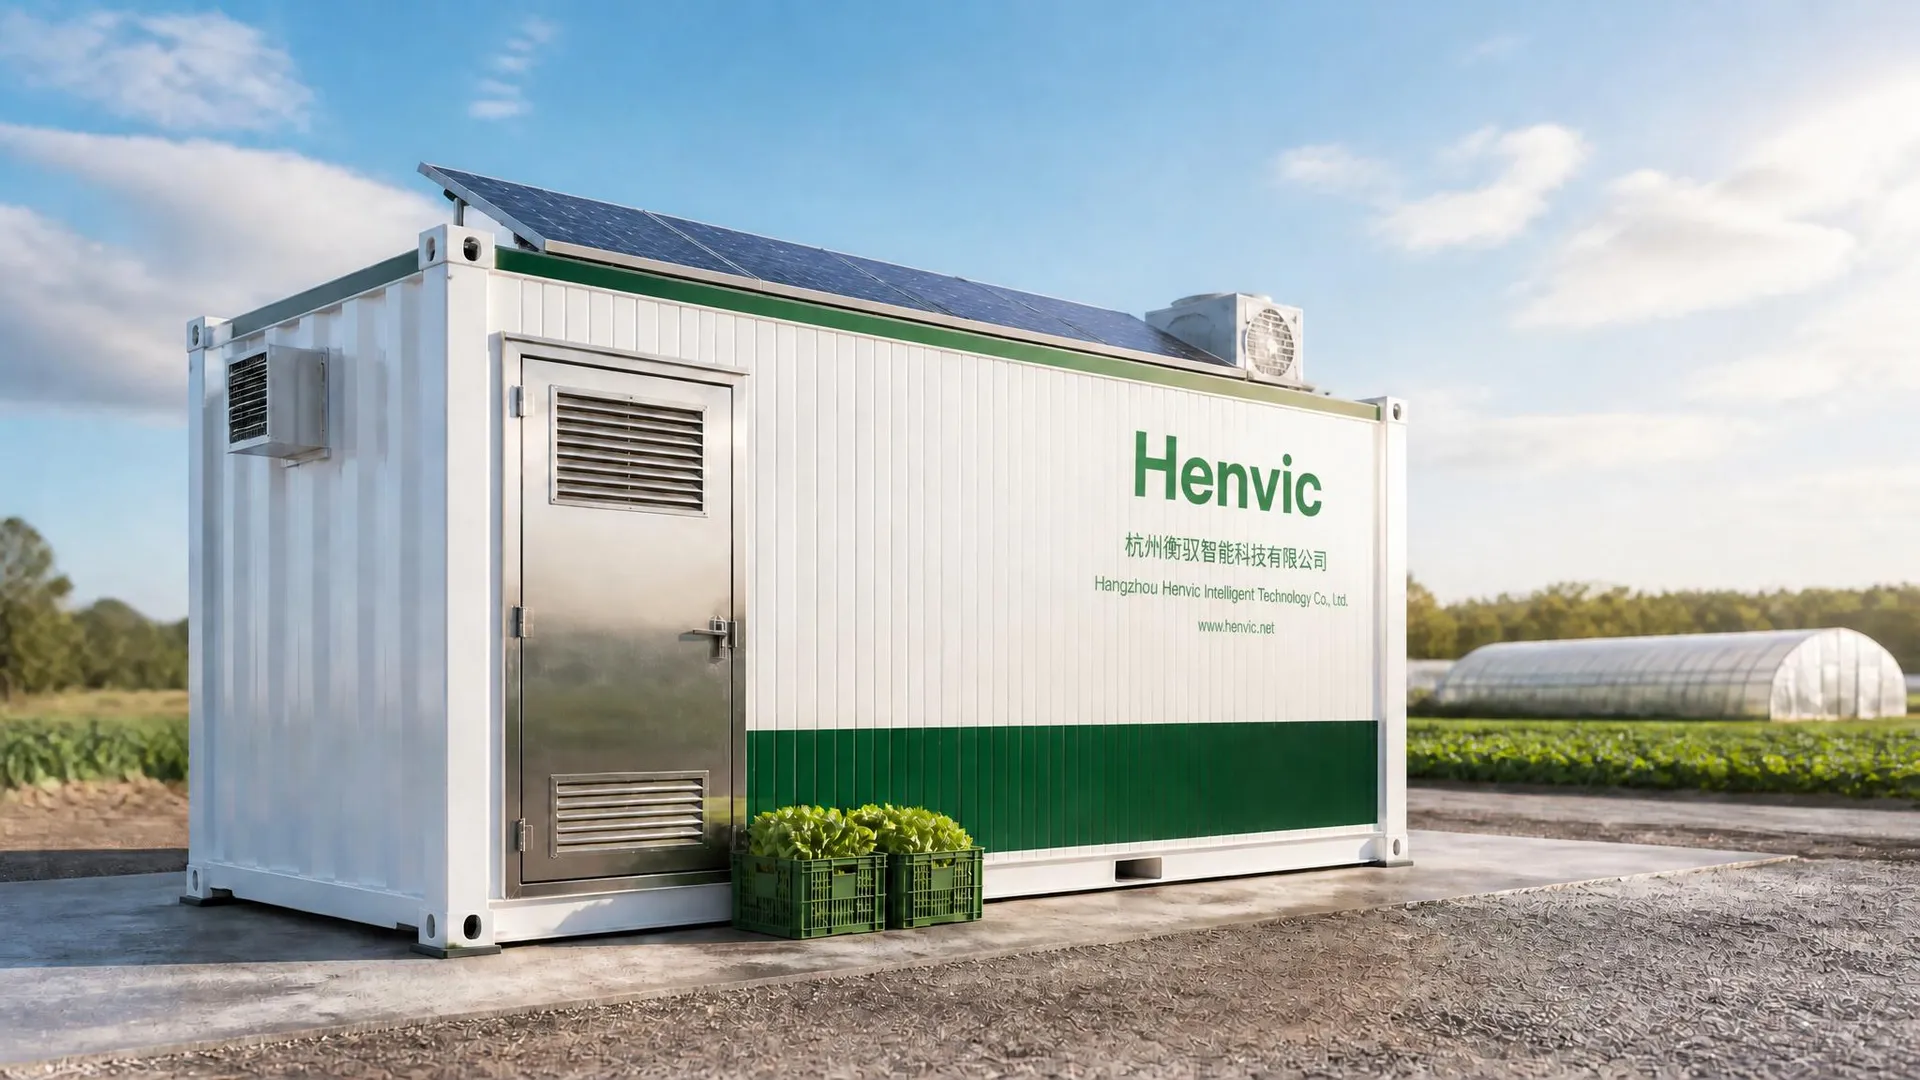
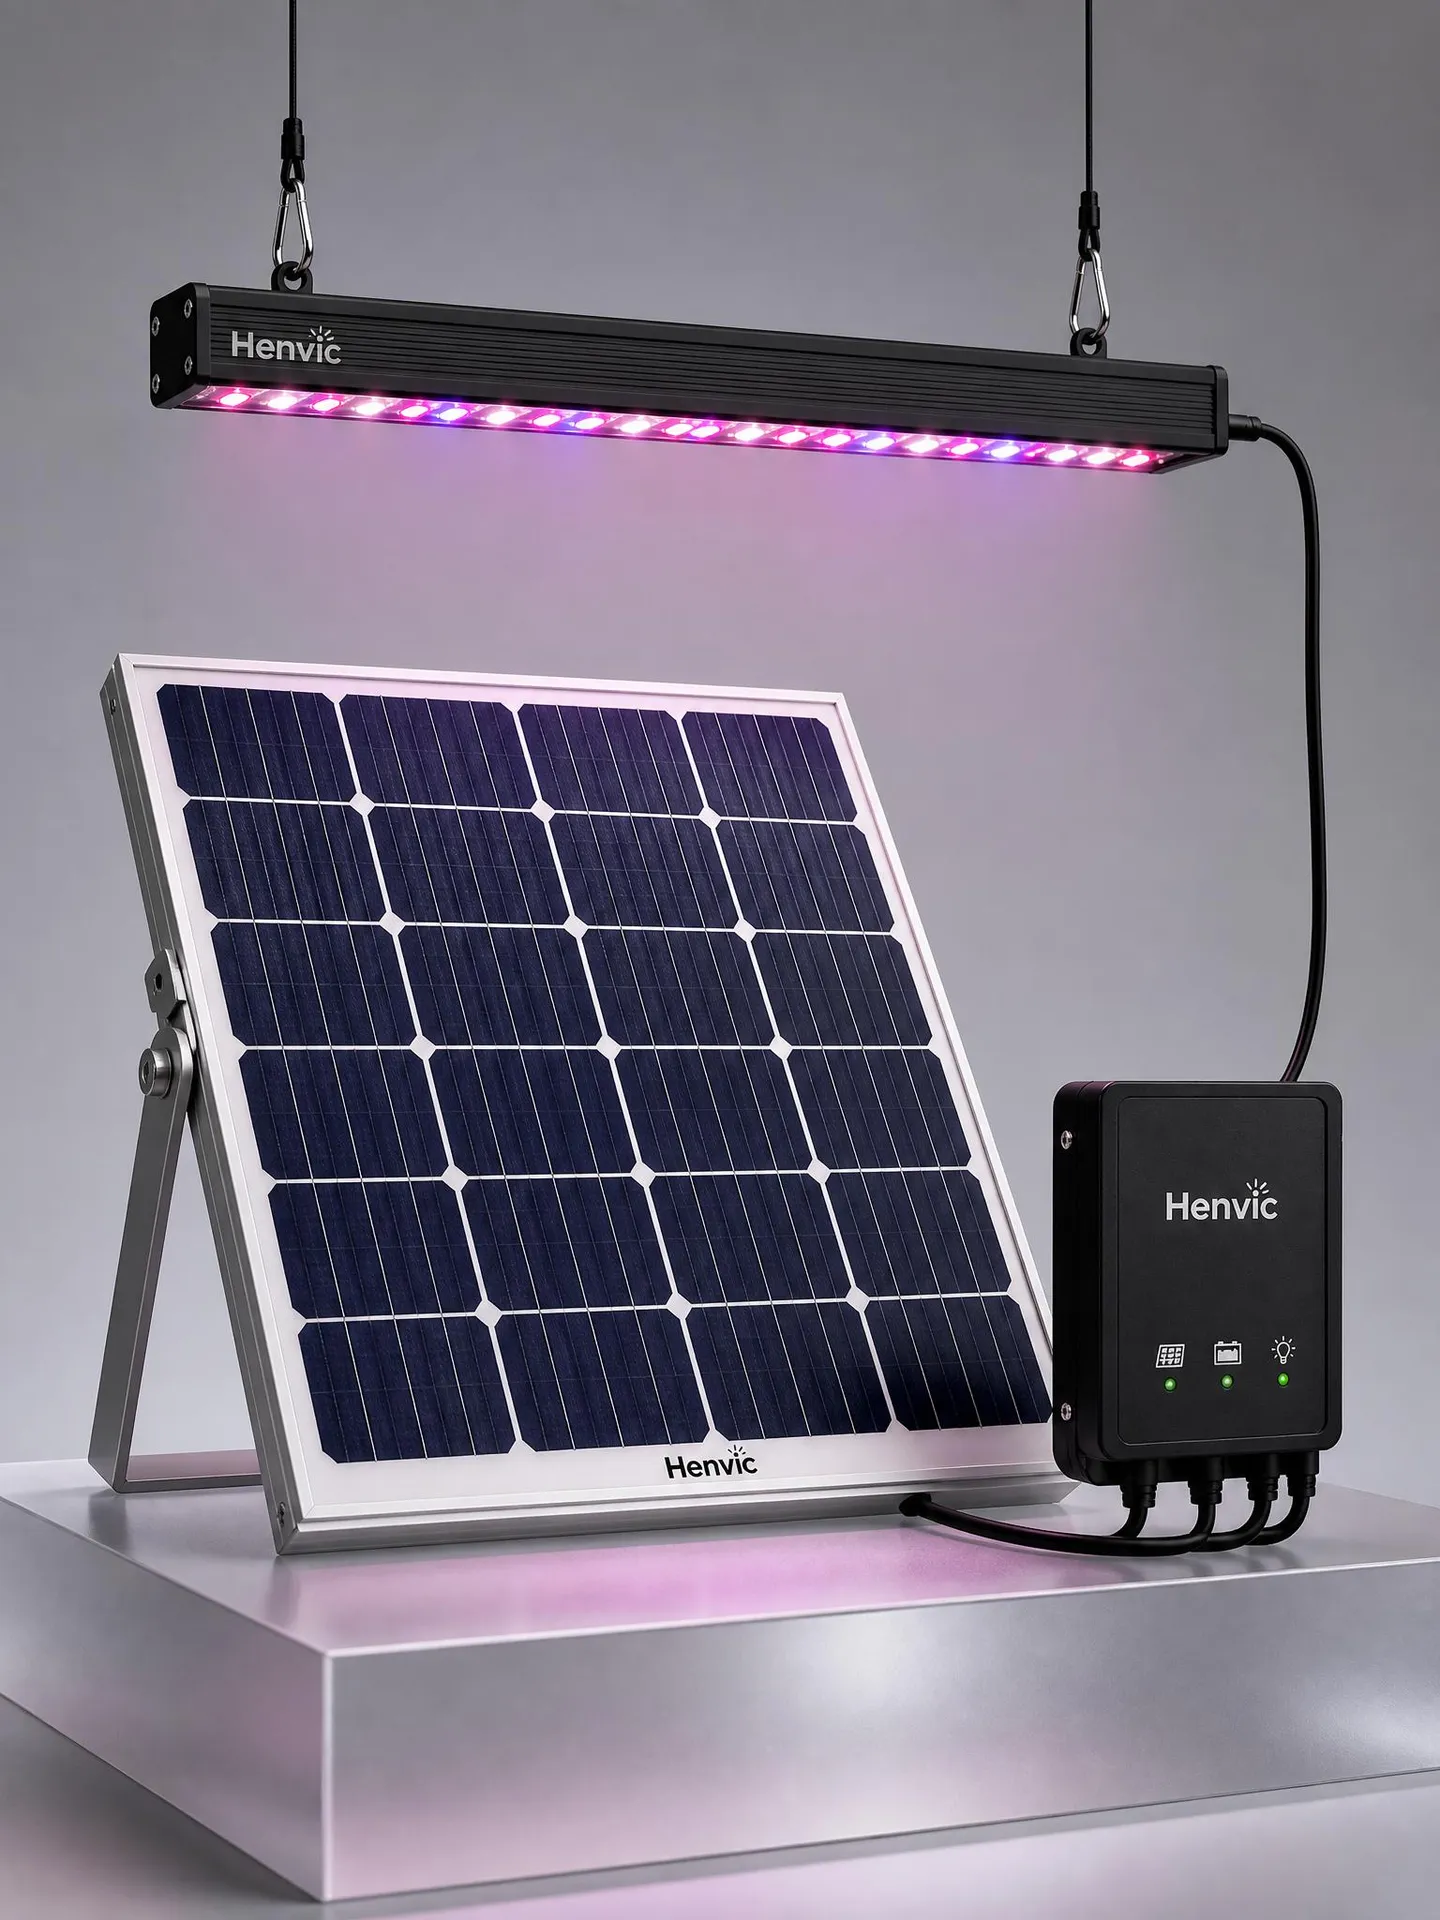
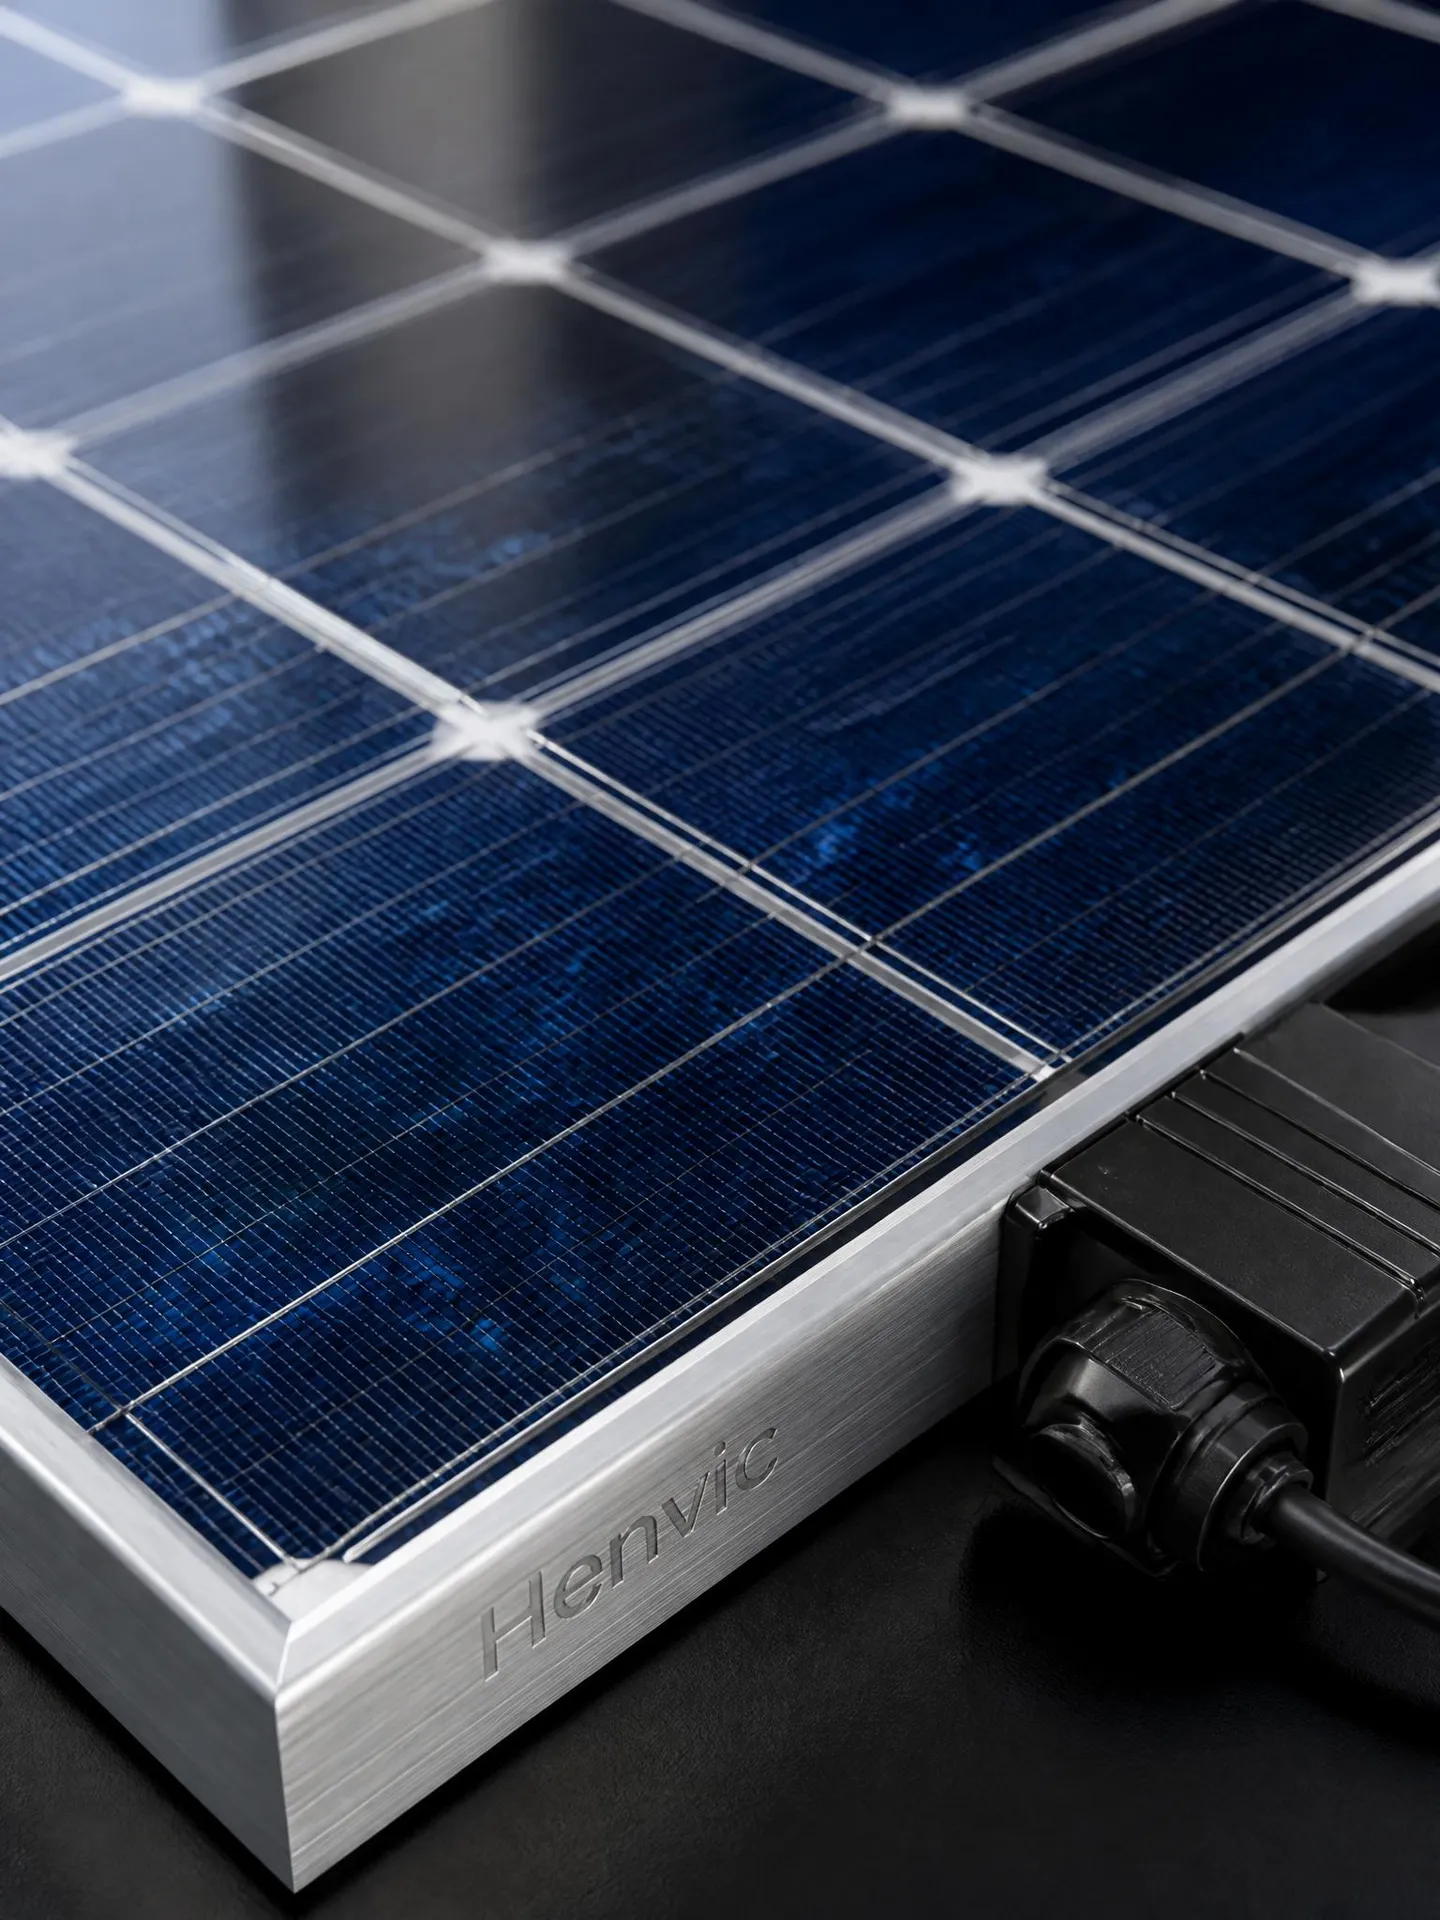
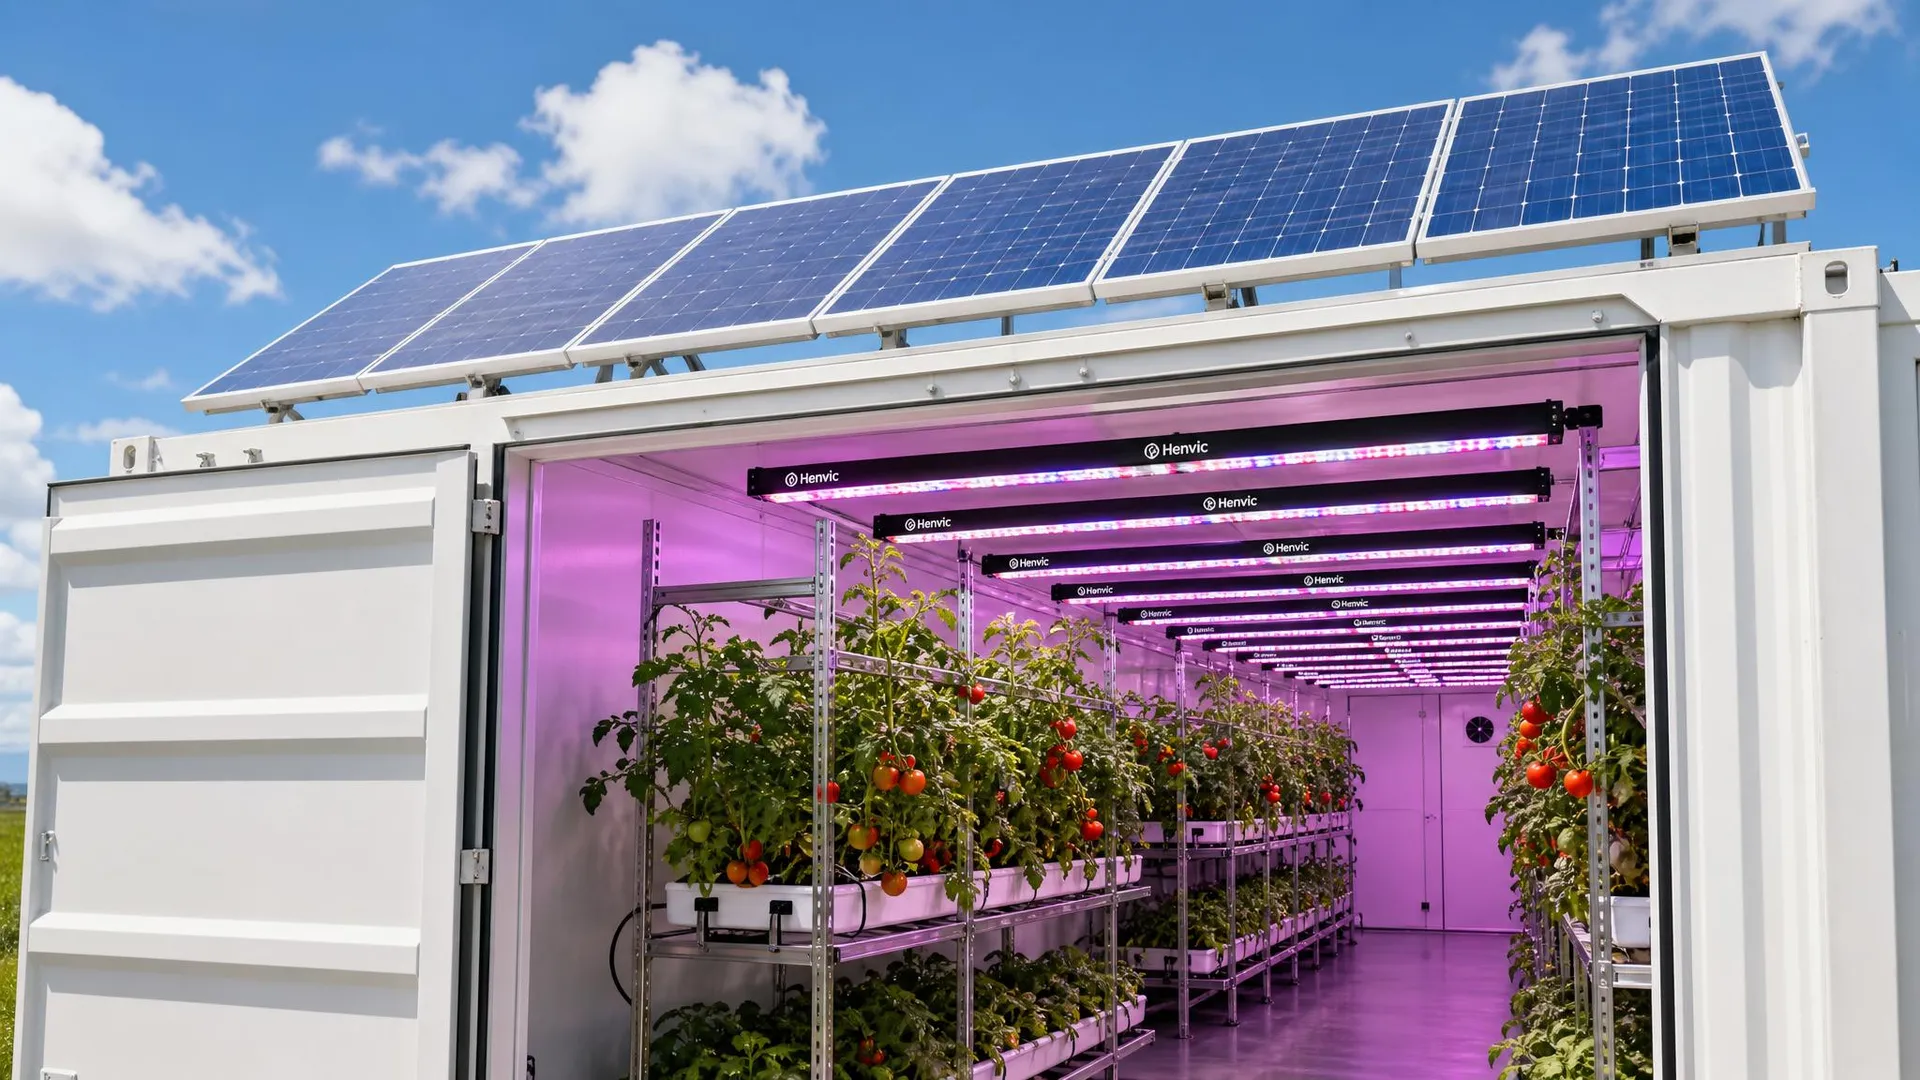
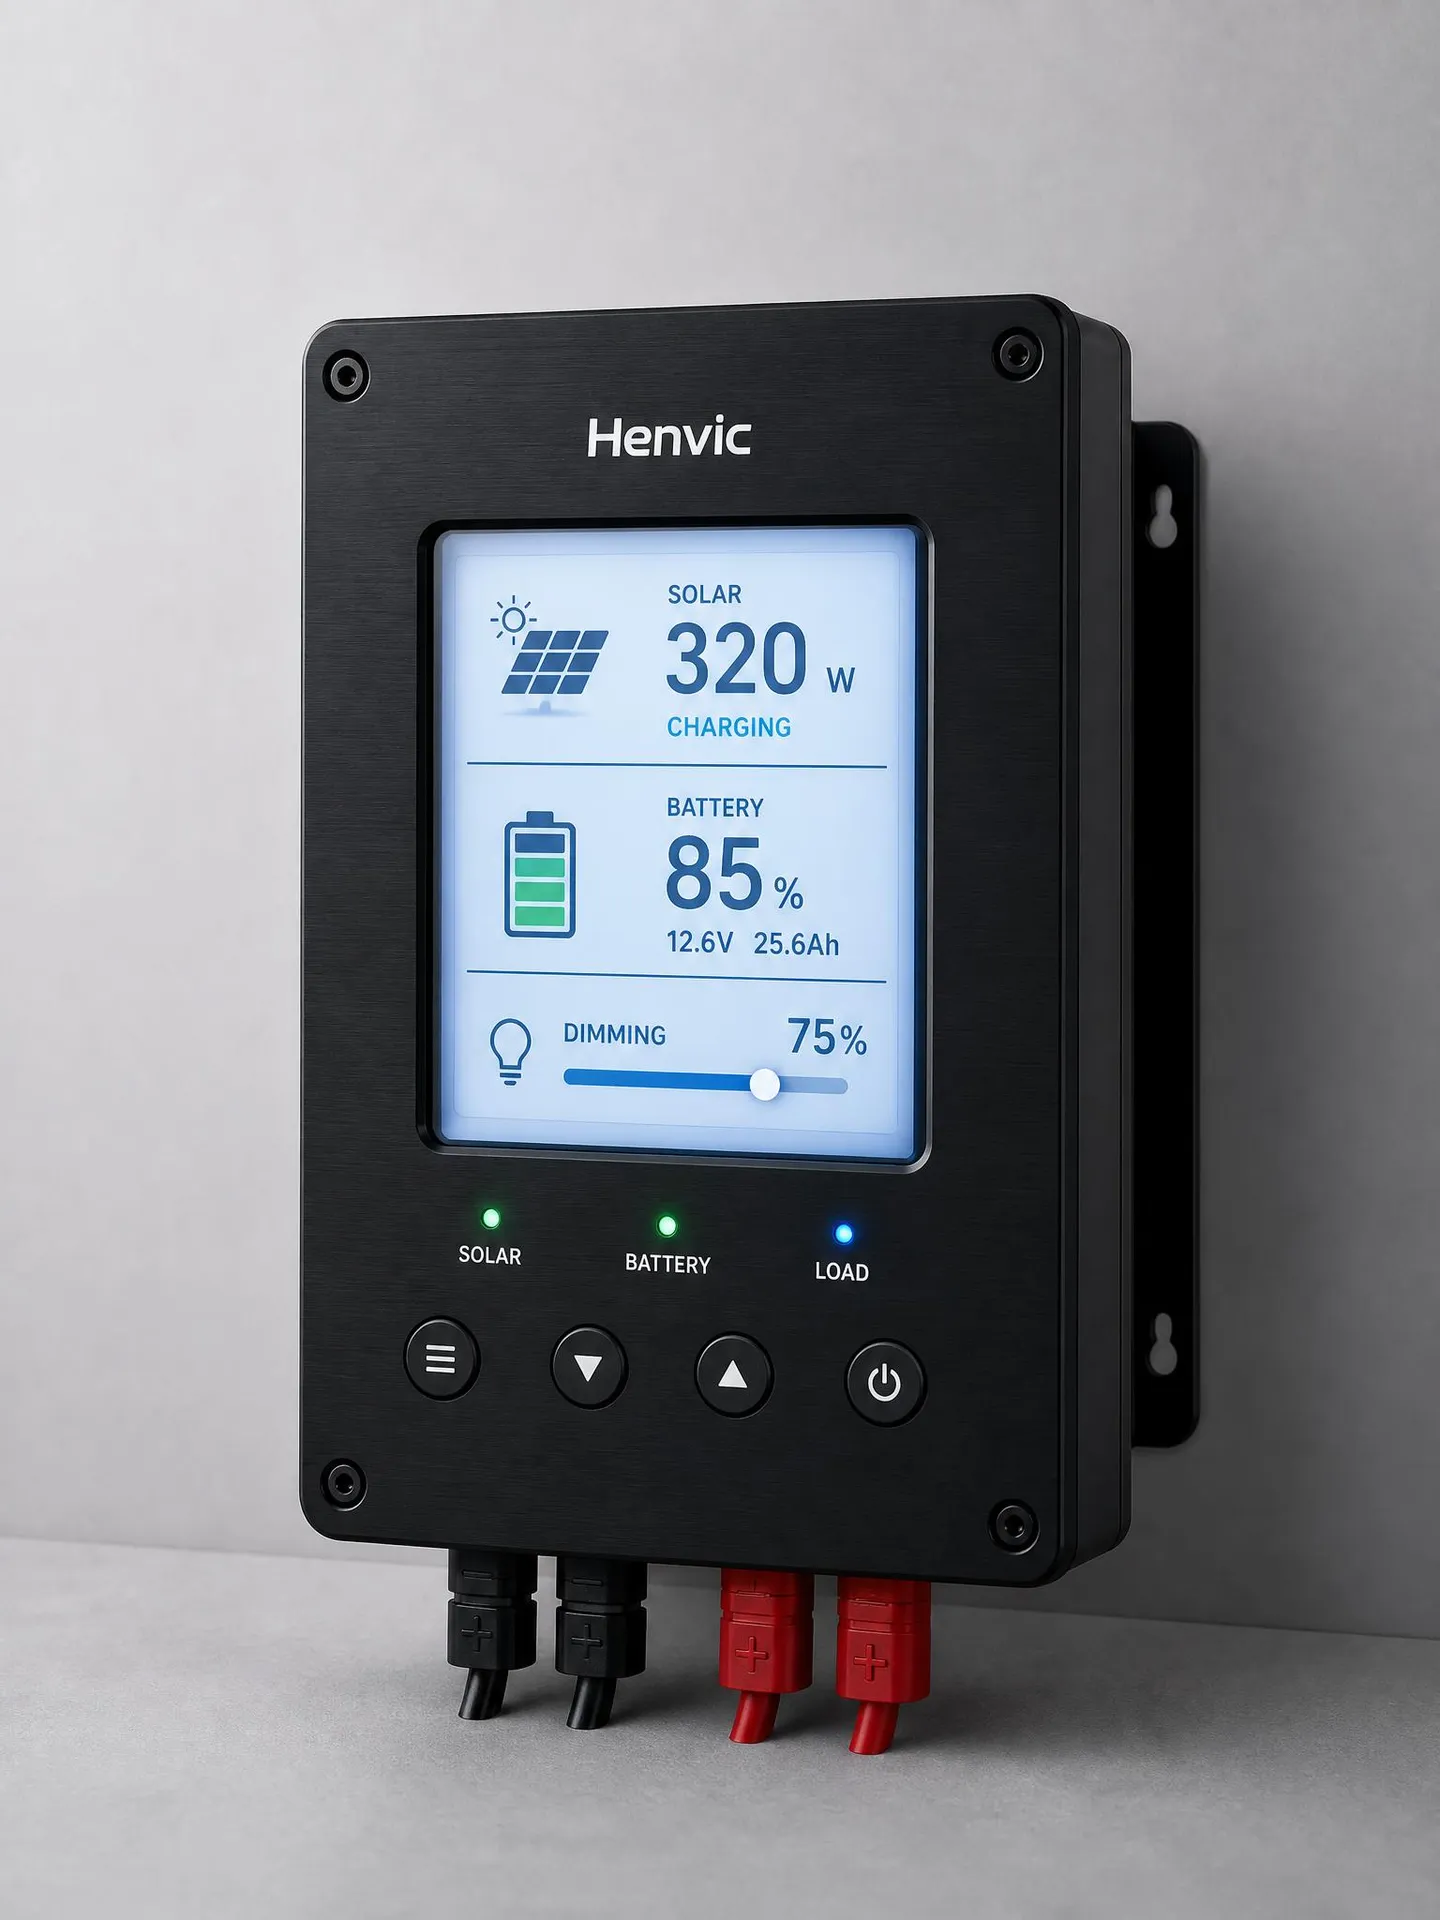
The Henvic HVC-GS series solar LED plant grow light is an off-grid supplemental lighting accessory developed specifically for fruit and vegetable growing containers (plant factories and mobile grow cabins). The system comprises four components: monocrystalline solar panels, a LiFePO4 (lithium iron phosphate) battery pack, an MPPT intelligent charge/discharge controller and full-spectrum LED light bars. The solar panels are mounted on the container roof, converting solar energy into electricity during the day and storing it in the battery, which then powers the cabin's grow lights continuously at night and during cloudy or rainy weather — delivering round-the-clock supplemental lighting with no reliance on mains power.
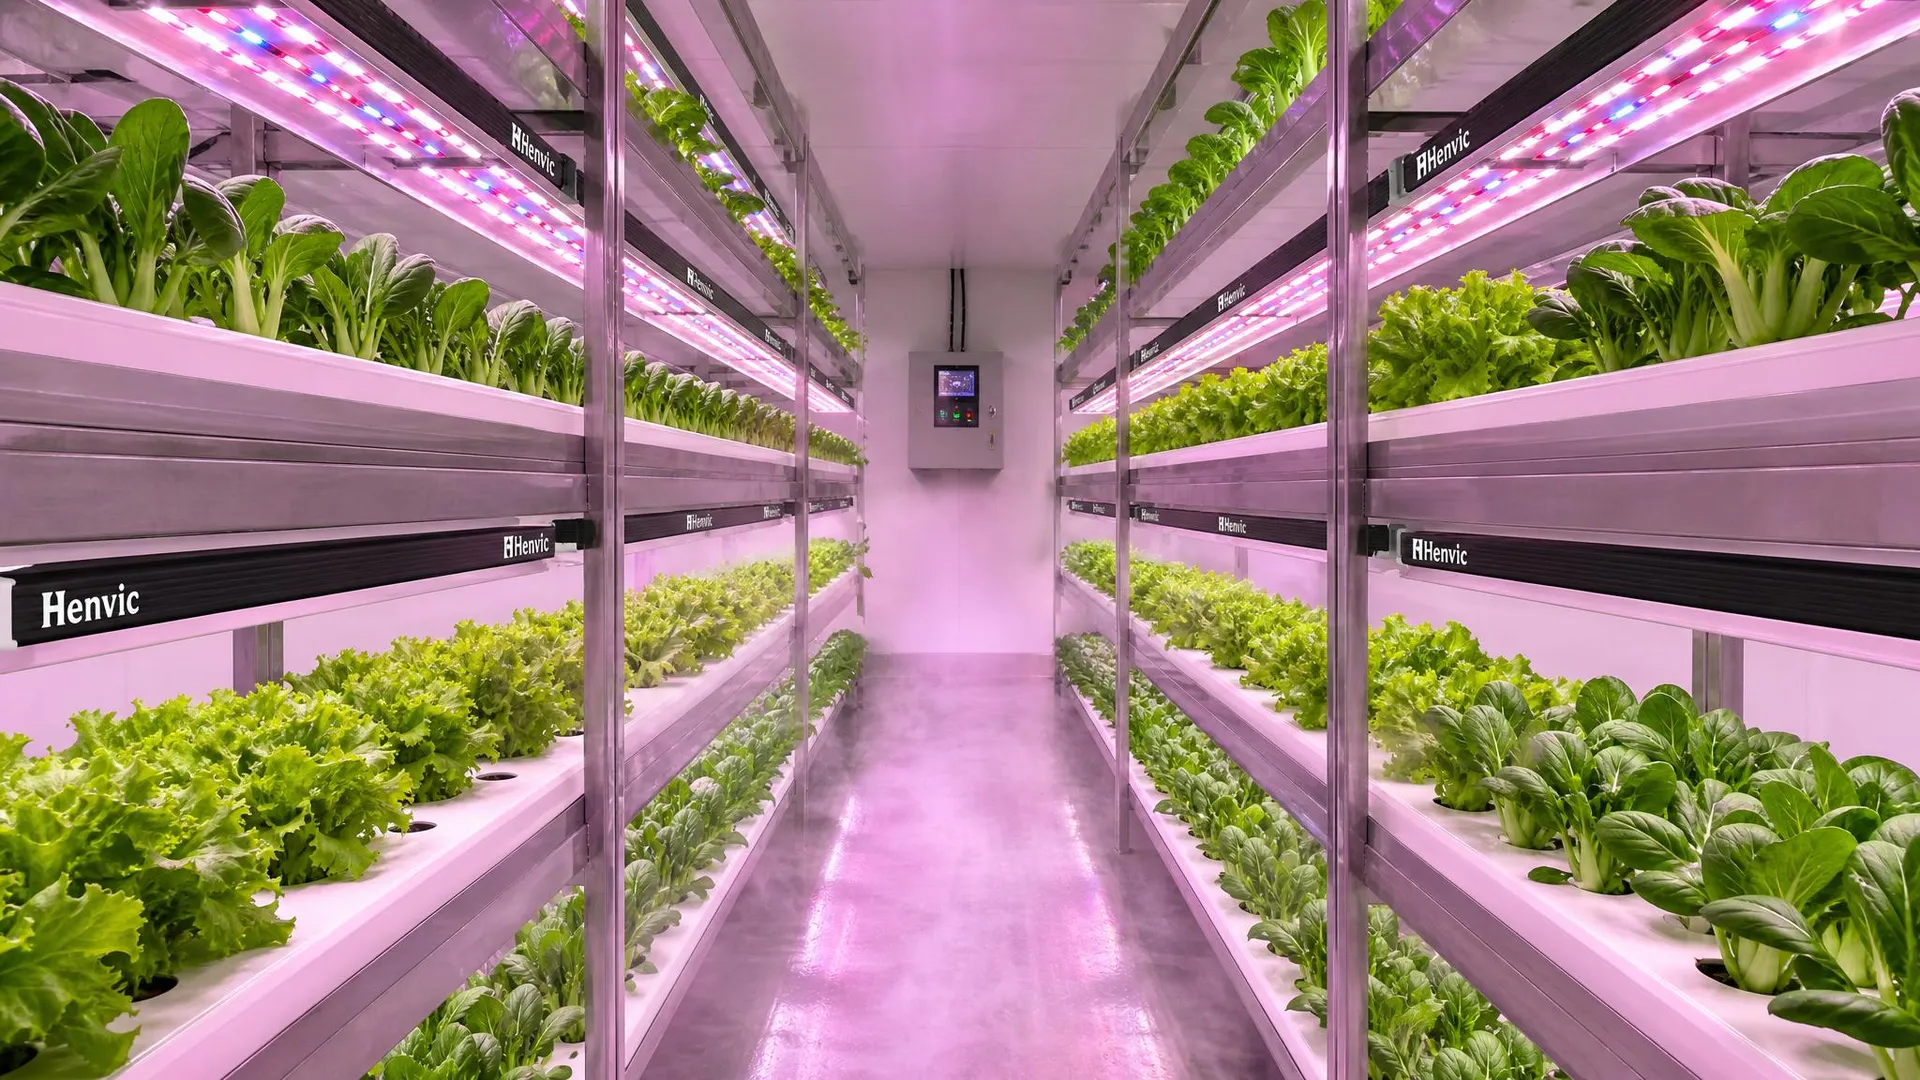
The light bars combine deep red 660nm, blue 450nm and white 5000K full-spectrum LEDs with secondary optical lenses and an aircraft-grade aluminium heat dissipation structure, delivering uniform illumination at an efficacy of 2.2~2.6 μmol/J. The system supports intelligent dimming via the controller or app, with one-touch switching between seedling, vegetative growth and flowering/fruiting spectrum modes, and accepts an AC 100-277V mains backup input. Supporting both off-grid and grid-connected operation, it provides an efficient, energy-saving and stable light environment for tomatoes, cucumbers, strawberries, leafy greens and other crops.
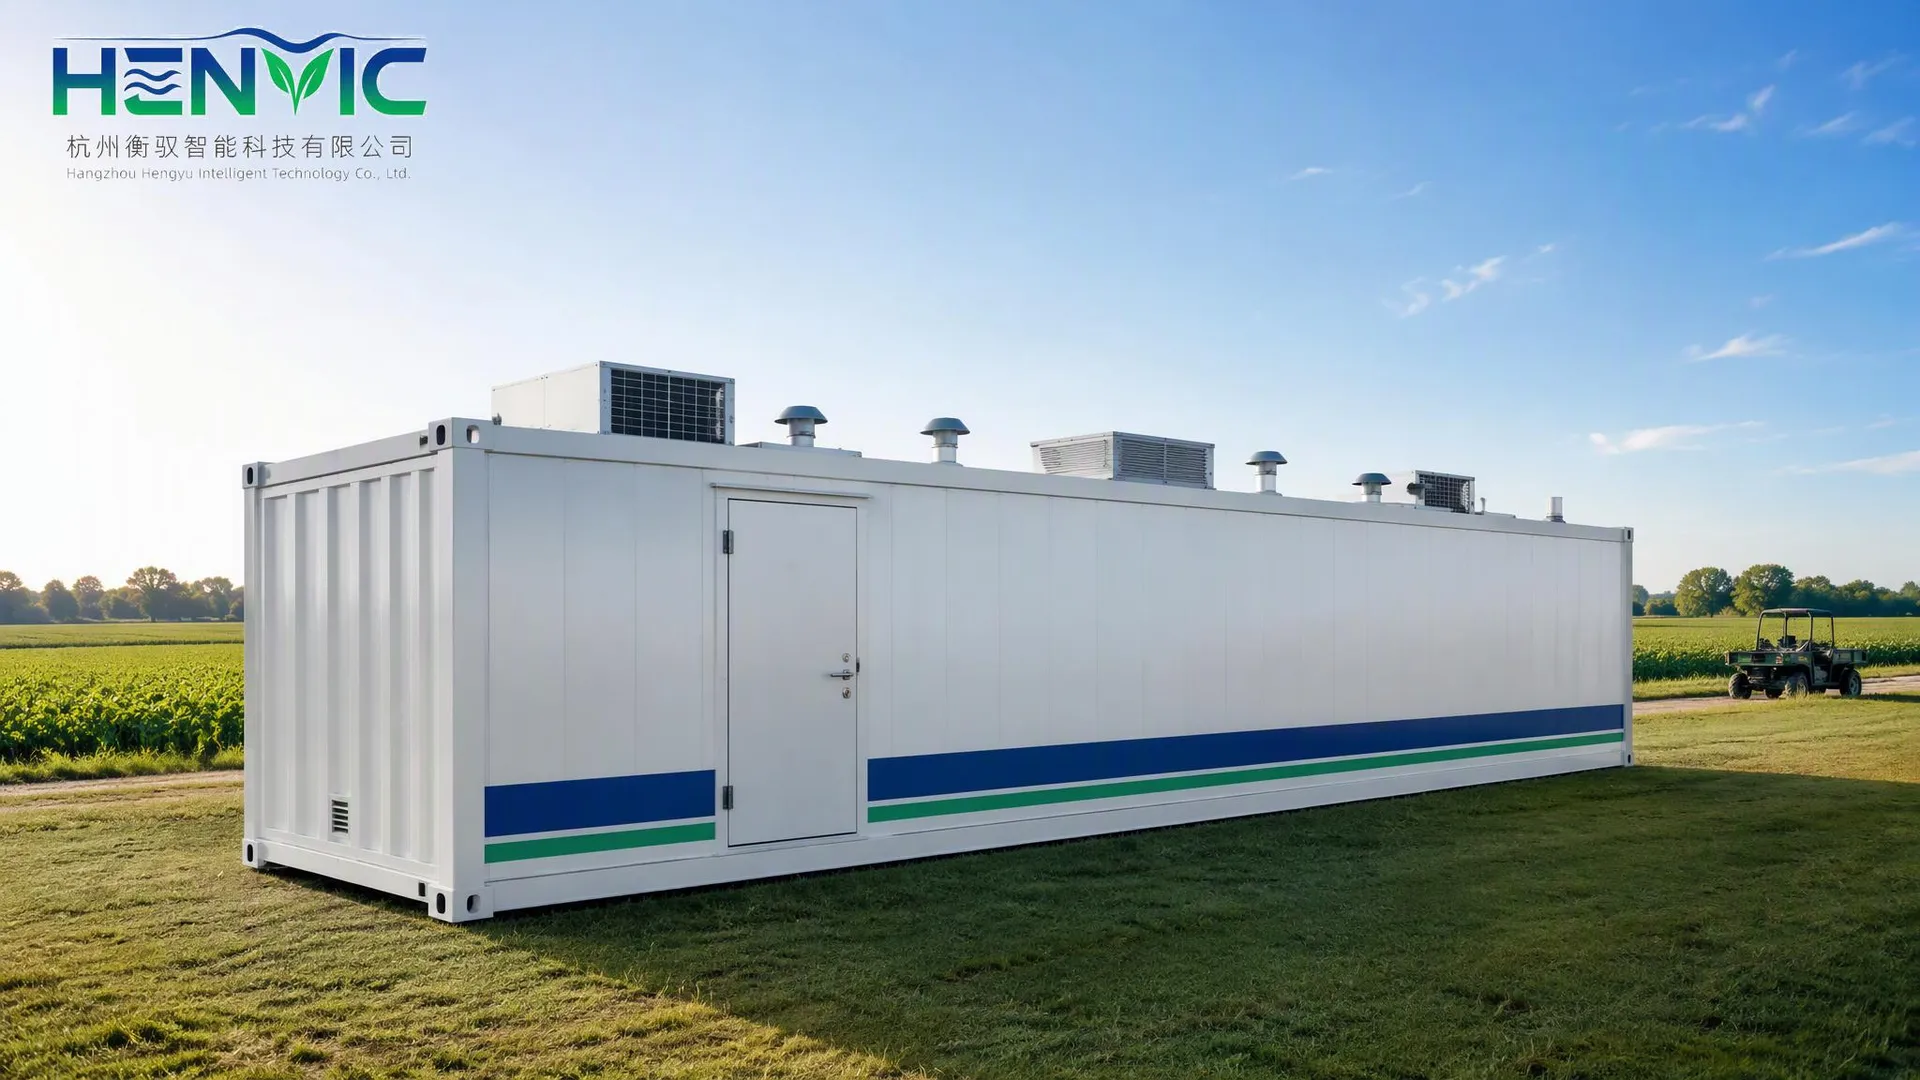
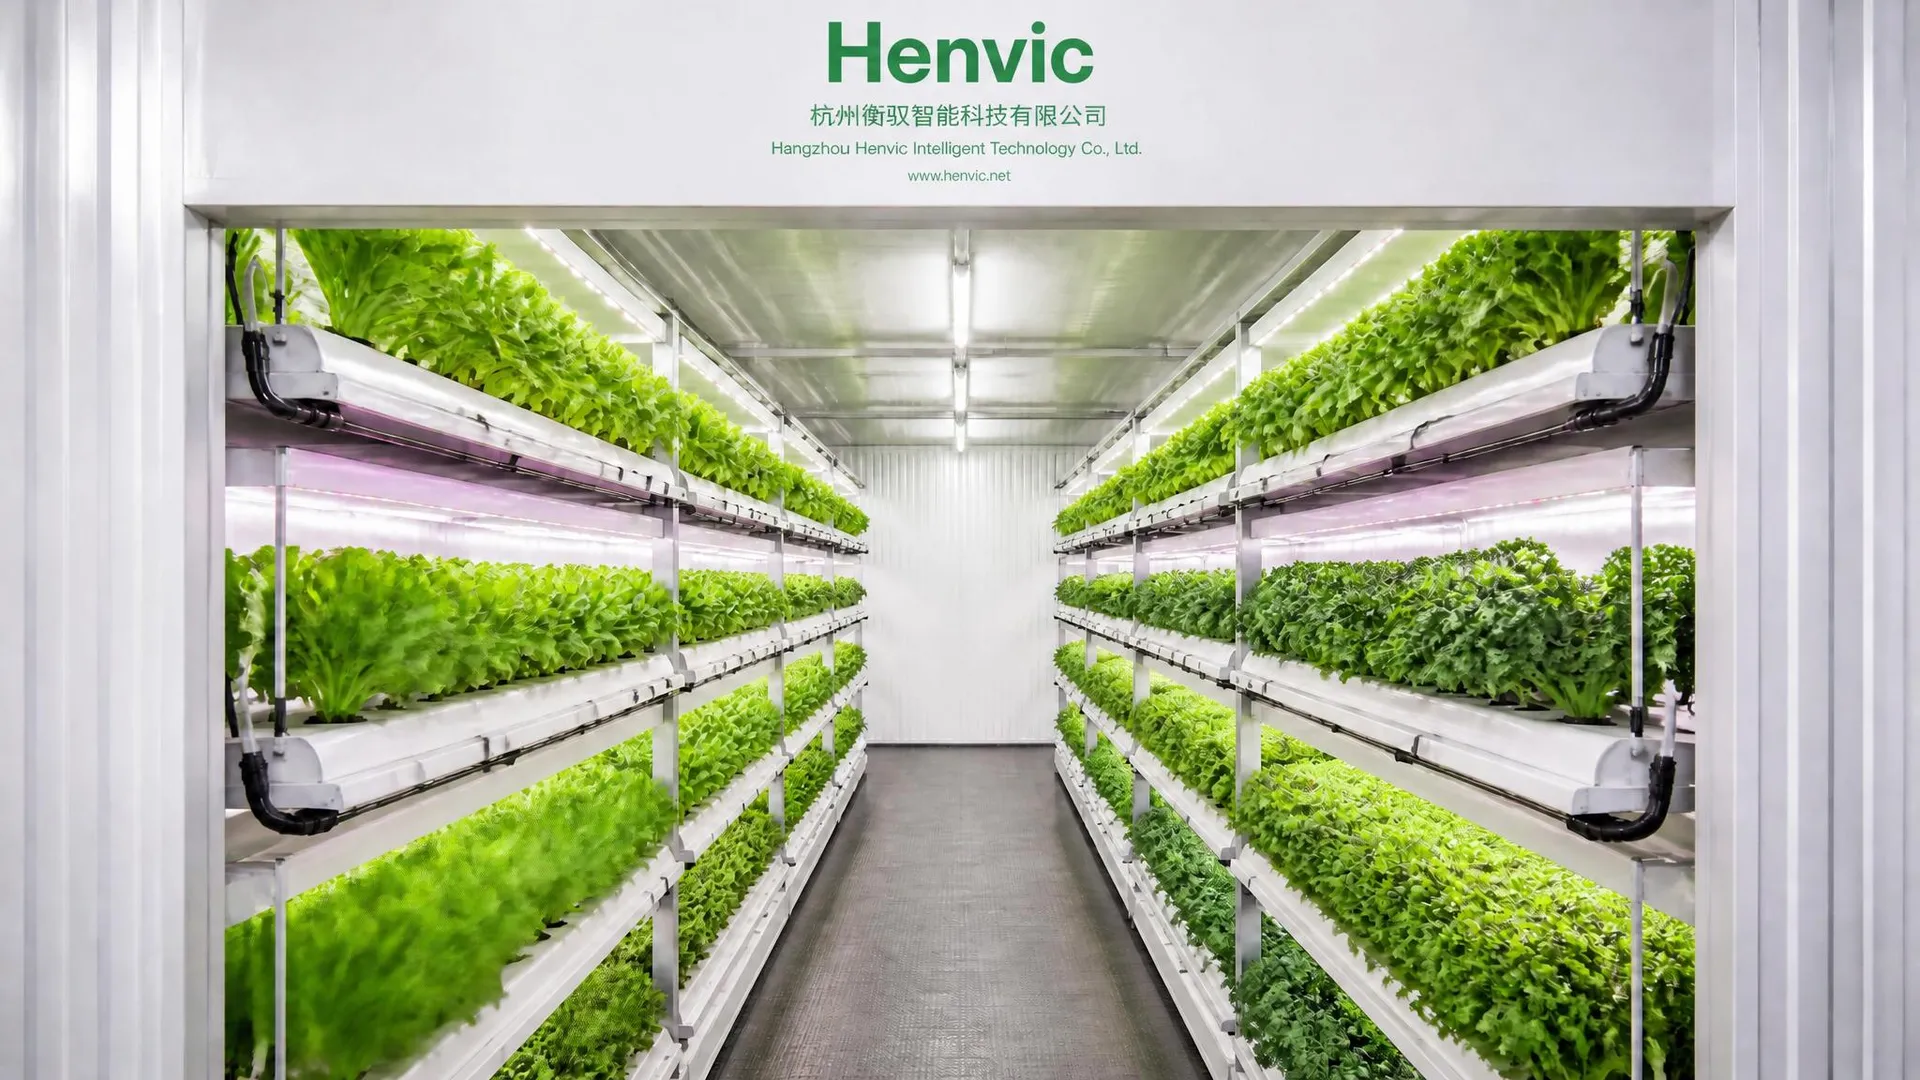
II. Product Gallery
III. Core Features
- Off-grid independent power supply: monocrystalline solar panels plus a LiFePO4 battery allow fully independent operation without mains power;
- Backup for cloudy and rainy weather: runs continuously for 3~5 days on a full charge, keeping supplemental lighting uninterrupted in harsh weather;
- MPPT intelligent charging: maximum power point tracking delivers high charging efficiency and effectively extends battery life;
- Full-spectrum recipe: deep red 660nm + blue 450nm + white 5000K (R:B:W = 4:1:5), customizable to suit specific crops;
- Intelligent dimming: switch between seedling, vegetative and flowering modes with one touch and set the photoperiod via the controller or Bluetooth app;
- Efficient heat dissipation and protection: one-piece aircraft-grade aluminium housing, IP65 rated, service life ≥ 50,000 hours;
- Easy installation: roof bracket plus in-cabin suspension mounting, with a modular accessory design for immediate use;
- System integration: links with the Henvic intelligent environmental control system for coordinated management of light, temperature, humidity and CO₂.
IV. Technical Parameters
| Parameter | HVC-GS-1200 | HVC-GS-2400 |
|---|---|---|
| Solar panel power | 200 W (monocrystalline) | 400 W (monocrystalline) |
| Solar panel dimensions | 1480 × 670 × 35 mm | 2 × 1480 × 670 × 35 mm |
| Battery type | LiFePO4 24V 20Ah | LiFePO4 24V 40Ah |
| Cloudy/rainy weather runtime | 3~5 days continuous operation on a full charge | 3~5 days continuous operation on a full charge |
| Full charge time | 4~6 hours (standard sunlight) | 4~6 hours (standard sunlight) |
| LED rated power | 120 W | 240 W |
| Backup mains input | AC 100-277V / 50-60Hz | AC 100-277V / 50-60Hz |
| PPF (photosynthetic photon flux) | 260 μmol/s | 520 μmol/s |
| PPE (photosynthetic photon efficacy) | 2.2~2.6 μmol/J | 2.2~2.6 μmol/J |
| Spectrum configuration | Deep red 660nm + blue 450nm + white 5000K (R:B:W = 4:1:5, customizable) | As at left, customizable |
| Dimming method | Controller / Bluetooth app / 0-10V | As at left |
| Ingress protection rating | IP65 | IP65 |
| Ambient operating temperature | -20℃ ~ +45℃ | -20℃ ~ +45℃ |
| Service life | ≥ 50,000 hours | ≥ 50,000 hours |
| Installation method | Roof bracket + in-cabin suspension | As at left |
| Certification | CE / RoHS / FCC | CE / RoHS / FCC |
Note: the parameters above refer to the standard configuration. OEM/ODM customization is available according to the actual crop, cabin dimensions and local sunlight conditions (solar panel power, battery capacity and spectrum ratios are all adjustable).
V. Suitable Crops
- Fruiting vegetables: tomato, cucumber, pepper, eggplant and strawberry (supplemental lighting during seedling raising, flowering and fruit set, and fruit coloration);
- Leafy vegetables: lettuce, spinach, bok choy, Indian lettuce, celery and more;
- Culinary herbs: mint, basil, rosemary, coriander and more;
- Mushrooms: low-light induction and fruiting-stage supplemental lighting for enoki, king oyster and other species;
- Others: sprouts and microgreens, medicinal plant seedlings and more.
VI. Environmental Requirements and Recommendations
- Solar panel orientation: face the panel due south with a tilt angle of 25°~35° (fine-tuned to the local latitude) to ensure 4~6 hours of effective sunlight per day;
- Temperature: 18~28℃ (22~28℃ is recommended for fruiting vegetables during flowering and fruit set);
- Relative humidity: 60%~80% RH;
- Photoperiod: 12~16 h/day for fruiting vegetables (the red spectrum share can be increased and the photoperiod extended during fruit coloration) and 12~16 h/day for leafy vegetables;
- Recommended mounting height: 300~500 mm between the lower edge of the fixture and the crop canopy;
- Light intensity: 300~500 μmol/m²/s for fruiting vegetables and 200~300 μmol/m²/s for leafy vegetables;
- CO₂ concentration: 800~1200 ppm significantly improves light use efficiency;
- Battery compartment: place it in a ventilated, well-cooled position inside the cabin and operate within an ambient temperature of -20℃~+45℃.
VII. Installation and Operating Instructions
- Unpacking inspection: check the solar panel, LED light bars, controller, battery pack, brackets, cables and other accessories against the packing list;
- Install the solar panel: fix the roof bracket securely to the top of the container with the panel facing due south at a tilt angle of 25°~35°;
- Connect the battery and controller: place the battery pack in a ventilated area inside the cabin and connect it to the controller's battery terminals, observing correct polarity;
- Hang the LED light bars: suspend them inside the cabin above the growing racks, adjusting the mounting height as recommended in Section VI;
- Connect the load: connect the LED light bars to the controller's load output terminals and waterproof all connectors;
- Set the light recipe: select the crop mode (seedling / vegetative / flowering) on the controller or app and set the photoperiod;
- Operation and maintenance: clean dust from the solar panel surface regularly and check the wiring and battery status.